How Sewage Cleanup Works: A Practical Guide
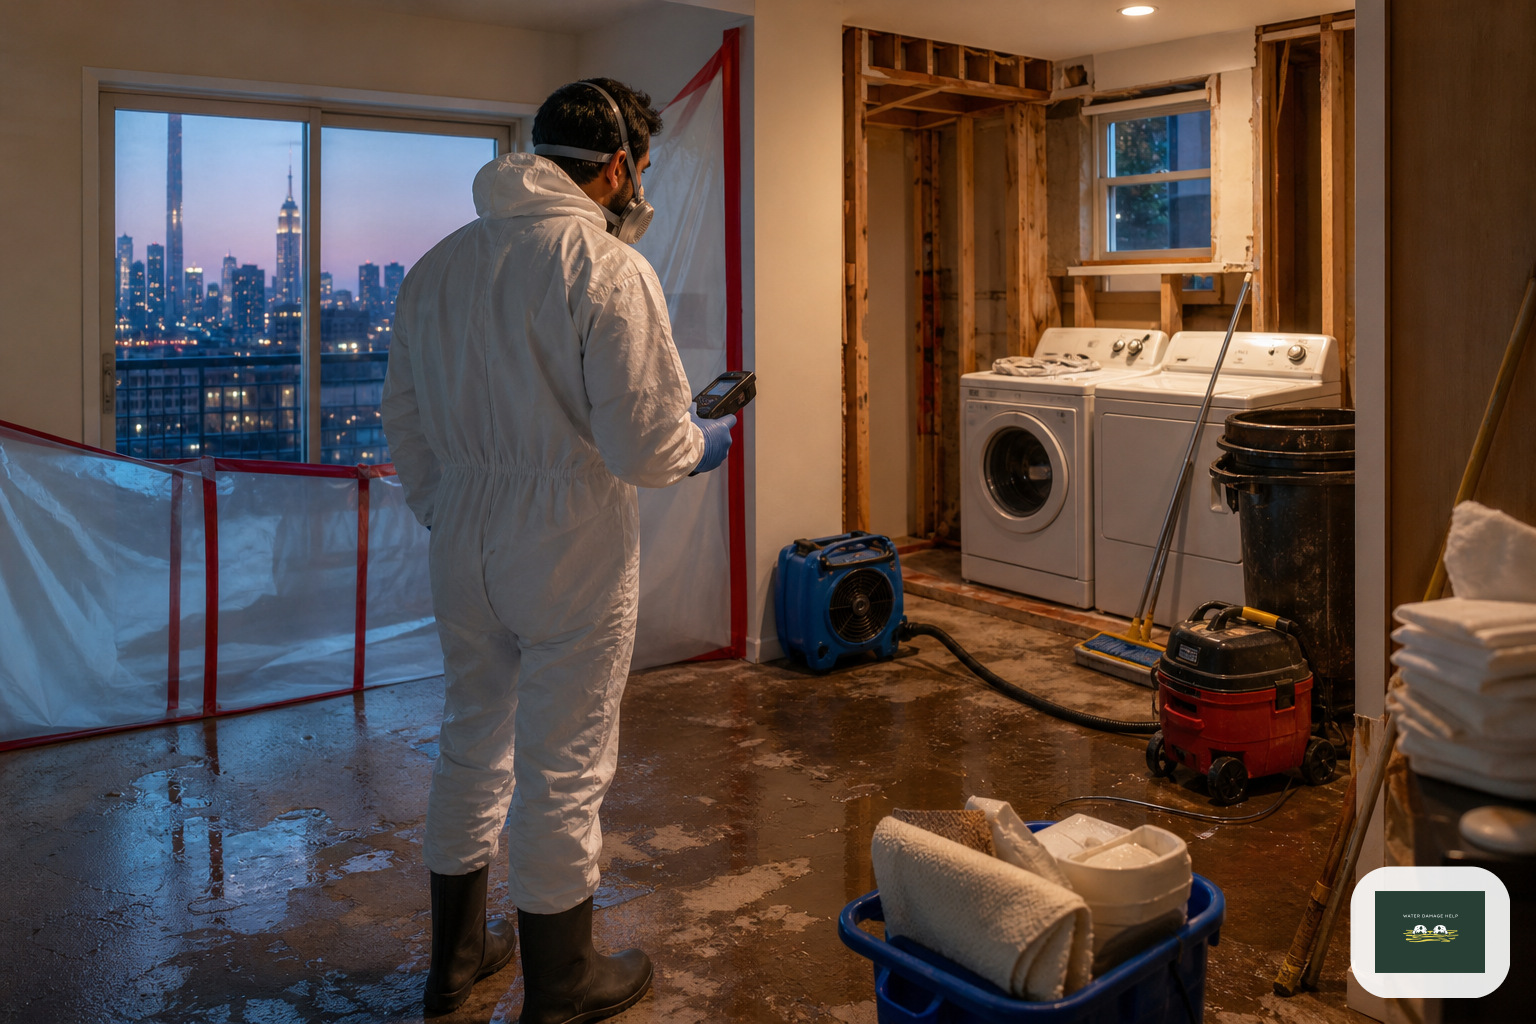
A practical, safety-first guide explaining the sewage cleanup process, what property owners should do immediately, when professionals are needed, and how drying and documentation fit into restoration.
If you are dealing with sewage damage, the cleanup process is usually: make the area safe, contain the contamination, remove contaminated water and damaged materials, clean and disinfect, dry the structure, verify moisture levels, and then repair what could not be restored. The key is to treat it as a controlled restoration process, not a simple surface cleaning job.
How sewage cleanup works, in practical terms
Sewage cleanup usually starts with safety, containment, and removal of contaminated water, then moves into cleaning, disinfection, drying, moisture verification, and any needed demolition or reconstruction. The exact process depends on how far the sewage spread, what materials were affected, and whether the damage reached hidden spaces such as wall cavities or flooring layers.
The most important point is this: sewage cleanup is not just mopping up visible water. It is a controlled restoration process designed to reduce contamination, remove damaged materials safely, and prevent lingering moisture from creating new problems.
What to do immediately after a sewage backup
Before anyone starts cleaning, the priority is to reduce exposure and avoid spreading contamination.
-
Keep people and pets out of the area. Sewage can contaminate floors, baseboards, furniture, and anything it touches.
-
Avoid touching standing water or soaked materials. Porous items and hidden spaces may already be contaminated.
-
Do not run fans that could spread contaminated particles into clean areas. Air movement can move moisture and contamination if the area is not contained first.
-
Turn off electricity to affected areas if it can be done safely. Water and electrical systems are a dangerous combination.
-
Call a professional restoration company for assessment. Sewage cleanup often requires containment, protective equipment, cleaning products, and disposal procedures that property owners should not try to manage alone.
If there is any chance of structural instability, major flooding, or electrical hazard, the area should be treated as unsafe until it has been evaluated.
What professionals do during sewage cleanup
1. Inspection and damage assessment
A cleanup crew typically begins by identifying:
- where the sewage entered
- how far it spread across finished surfaces
- whether it reached hidden areas
- what materials are contaminated or unsalvageable
- whether the cleanup will require removal of flooring, drywall, insulation, or other porous materials
This step matters because sewage often travels farther than it first appears.
2. Containment and protection
Before removal begins, professionals usually isolate the affected area so contamination does not spread. That may involve barriers, protective coverings, and personal protective equipment.
Containment is especially important in homes, apartments, offices, and other occupied buildings where clean areas need to stay separate from the affected space.
3. Removal of contaminated water and debris
Once the area is controlled, the visible sewage and contaminated debris are removed. Depending on the situation, that may include:
- standing wastewater
- soaked contents
- damaged carpet or padding
- contaminated porous materials
- debris that cannot be safely cleaned
The goal is not just to make the area look clean, but to remove the materials most likely to hold contamination.
4. Cleaning and disinfection
After removal, affected surfaces are cleaned and disinfected according to the restoration plan. This step helps address residue that remains on hard surfaces and structural materials.
Not every material can be disinfected and saved. For example, porous materials may absorb contamination and need to be removed instead of cleaned in place.
5. Structural drying and moisture verification
After visible contamination is addressed, the structure must be dried. This may include:
- structural drying equipment
- dehumidification
- air movement placed to support drying in the right areas
- moisture detection to check walls, floors, and other materials
Drying is not complete until the hidden moisture is under control. That is why moisture readings and drying logs matter. They help confirm whether the structure is actually dry, not just dry on the surface.
6. Removal of unsalvageable materials
Some materials cannot be effectively cleaned after sewage exposure. If contamination has soaked into items such as carpet padding, drywall, insulation, or certain subfloor materials, removal may be necessary.
This step is often what turns a “cleanup” into a larger restoration project, because the property may need partial demolition before reconstruction can begin.
7. Reconstruction and final repair
After drying and moisture verification, any removed materials can be rebuilt. Reconstruction may include replacing damaged finishes and restoring the space to usable condition.
The exact scope depends on what was removed and how much structural material was affected.
How to tell whether a situation should be handled by a professional
Some sewage events are too risky for property owners to address on their own. Professional help is especially important when:
- sewage has spread beyond a small, contained area
- the backup affects walls, floors, or crawl spaces
- the property has carpet, padding, insulation, or other porous materials exposed to sewage
- there is a strong odor or visible moisture in hidden areas
- electrical systems may have been exposed
- the property is a rental, commercial space, or multi-unit building
Even when the visible cleanup seems manageable, hidden contamination and trapped moisture can remain after the surface is wiped down.
Documentation that helps during sewage cleanup
Cleanup should also include recordkeeping. For property owners, documentation can help show what happened and what work was done.
Useful records often include:
- photos of the affected area before cleanup
- moisture readings taken during the job
- drying logs
- estimates and written scope notes
- photos after removal and drying
This documentation can be useful for insurance claims and for tracking the restoration process. It does not guarantee a claim outcome, but it can make the loss easier to explain.
Common mistakes to avoid
Cleaning the surface but ignoring hidden moisture
A floor or wall can look acceptable on the outside while moisture remains inside. That hidden moisture can lead to additional damage later.
Keeping salvageable and contaminated items together
Contaminated contents should not be mixed with clean belongings. Separation helps prevent cross-contamination.
Starting reconstruction too early
If the structure is not dry, rebuilding over wet materials can trap moisture inside the property.
Assuming all materials can be disinfected
Some porous materials are too contaminated to keep. In those cases, removal is safer than trying to clean everything in place.
What sewage cleanup means for different property types
For a homeowner, the process is often about protecting the structure, the air quality inside the home, and the safety of family members.
For a landlord or property manager, cleanup also involves minimizing downtime, coordinating access, documenting the damage, and keeping tenants informed without allowing unsafe occupancy.
For a commercial property owner, the priorities may include limiting business interruption, protecting inventory or equipment, and making sure the cleanup plan fits the building’s use.
The same core steps apply in all cases, but the scope and pace can change depending on how the property is used.
A practical example of the process
If a sewage backup affects part of a laundry room, the response may look like this:
- the area is isolated and kept out of use
- contaminated water and affected contents are removed
- hard surfaces are cleaned and disinfected
- damp flooring or underlayment is checked for hidden moisture
- drying equipment is set up
- moisture readings are taken until the structure is verified dry
- damaged materials are removed if they cannot be safely restored
- the space is prepared for repair and reconstruction
That sequence is typical of a controlled restoration process, even though the exact steps vary by property and level of contamination.
When to move from cleanup to restoration support
Once the contaminated water is removed, the job is not finished until the property is dry, documented, and ready for repairs. That is why sewage cleanup is usually part of a broader restoration process rather than a single cleaning visit.
If you are dealing with sewage damage, the practical next step is to keep the area isolated, avoid direct contact, and have the property assessed as soon as possible so cleanup, drying, and documentation can begin in the right order.
FAQ
What should I do first after a sewage backup?
Stay out of the affected area if possible, keep people and pets away, avoid touching contaminated water or surfaces, and contact a qualified restoration professional for assessment and cleanup. If electricity or structural safety is a concern, treat the area as hazardous until it is checked.
Why is sewage cleanup usually not a DIY job?
Sewage can contain contaminants that require containment, disinfection, protective equipment, and proper disposal. Without professional controls, cleanup can spread contamination to clean areas and leave moisture behind inside walls, floors, or cavities.
What happens after the visible sewage is removed?
Professionals typically clean and disinfect affected surfaces, then dry the structure and verify moisture levels. If materials are too contaminated or damaged, they may need removal and reconstruction rather than simple cleaning.
How does insurance documentation fit into sewage cleanup?
Photos, moisture readings, drying logs, and written estimates help show what was affected and what work was completed. This documentation can support an insurance claim, but it does not guarantee reimbursement or claim approval.